AllSeal Waterproofing is proud to showcase our successful project at the Symbiosis Tower, where we implemented advanced waterproofing solutions to ensure long-lasting protection and durability. Our expert team utilized cutting-edge materials and techniques to deliver outstanding results, tailored to the specific needs of this iconic structure.
3 Fusionopolis Way, Singapore
JTC Corporation
October 27, 2024
60 days
Waterproofing and Exterior Coating Solutions
Area Covered: 1500 sqm
Surface: Reinforced Concrete (RC) Roof
Description: We applied a durable, torch-on membrane across the RC roof to create a watertight barrier. This membrane is ideal for preventing water seepage, even in challenging weather conditions, thus ensuring the building's longevity.
Area Covered: 1000 m
Surface: Metal Roof
Description: We used a high-quality acrylic membrane on the metal roof to protect against rust, corrosion, and water damage. This membrane offers excellent flexibility and UV resistance, enhancing the structure’s durability and reducing maintenance requirements.
○ Scope: Full building exterior
Description: We provided a weather-resistant, high-quality exterior paint finish that not only enhances the building’s appearance but also contributes to long-term surface protection.
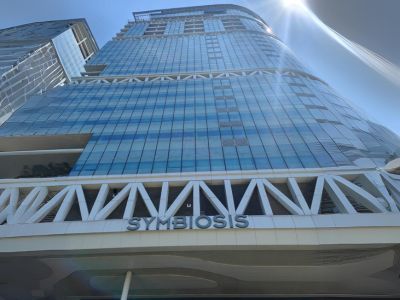
Step-1
Symbiosis Tower - Initial inspection to assess existing project conditions and surface requirements.
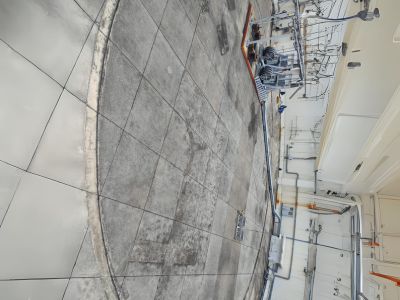
Before Image - Cleaning, smoothing, and preparing all surfaces to ensure effective adhesion of waterproofing materials.
Step-2

Bituminous Primer Application - Applying a bituminous primer on concrete surfaces as a preparatory layer for the torch-on membrane.
Step-3
Step-4
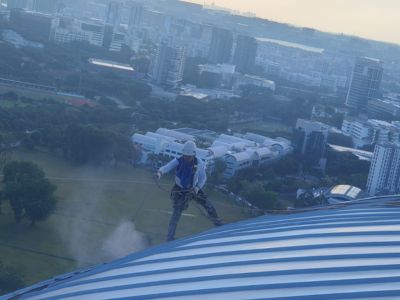
Acrylic Waterproofing Application - Applying an acrylic membrane over the metal roof, ensuring full coverage and sealing all seams.
Step-5
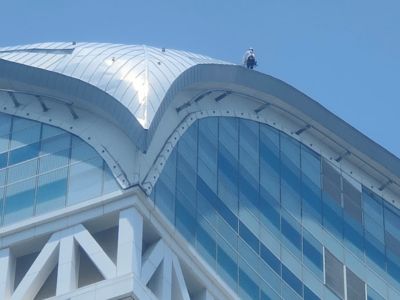
Torch-On Membrane Application - Applying the torch-on membrane on the RC roof, creating a durable waterproof barrier.
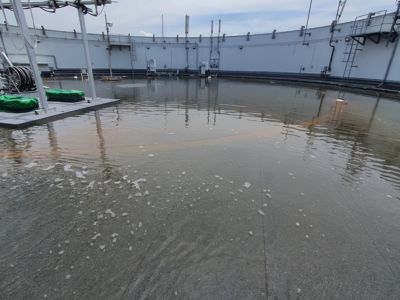
Water Ponding Test- Conducting a water ponding test to verify waterproofing effectiveness, ensuring there are no leaks or weak points.
Step-6
Step-7
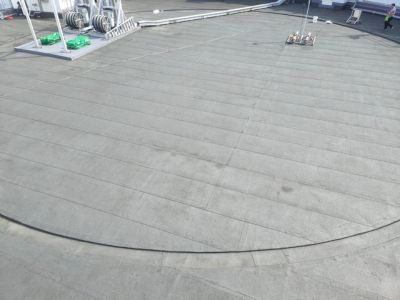
Job Completion Image- Conducting a thorough inspection of all work areas, ensuring high standards of quality and cleanliness.
This project required precise coordination and meticulous attention to detail to maintain the integrity of the building’s surfaces.
We encountered challenges related to weather conditions and access, especially at elevated and exposed surfaces.
Through our commitment to quality and safety standards, we employed advanced equipment and adhered to strict quality protocols, completing the work efficiently and within the designated time frame.

Allseal Waterproofing PTE Ltd, your trusted partner for all waterproofing needs. Based in Singapore, we provide expert solutions for leaks and dampness. Contact us for unparalleled service.
